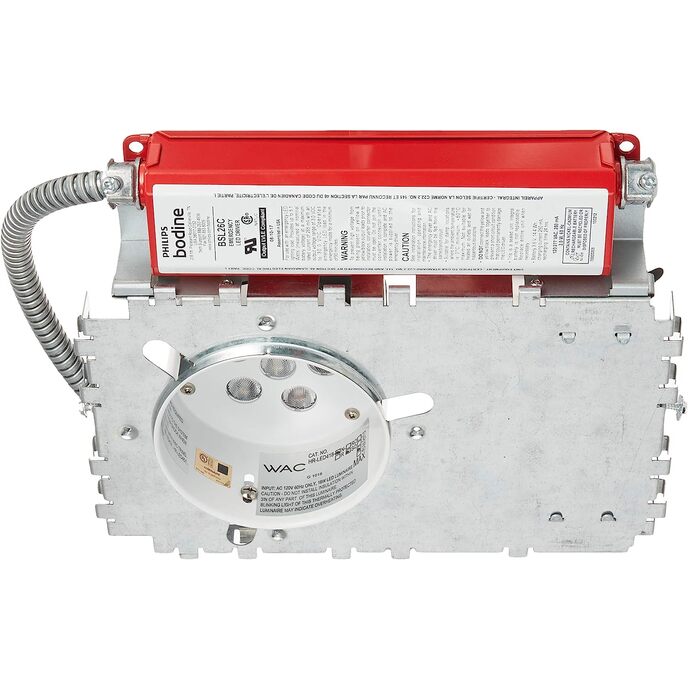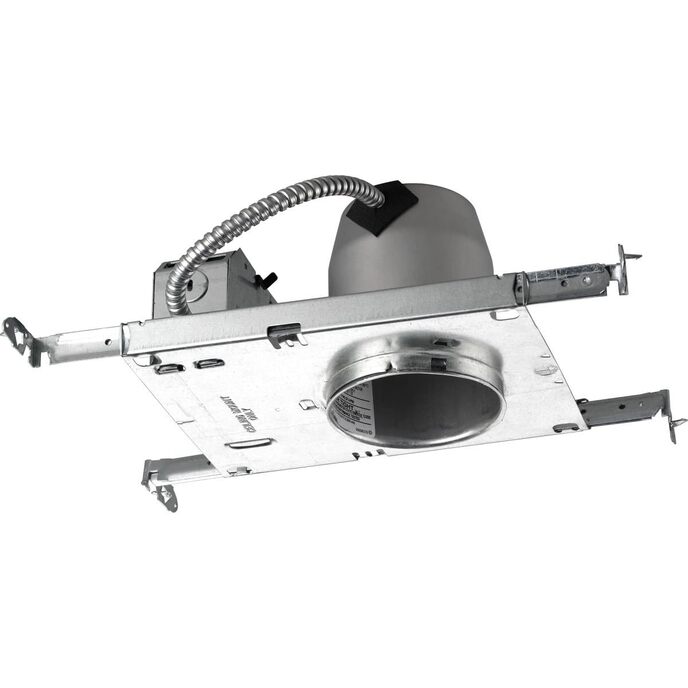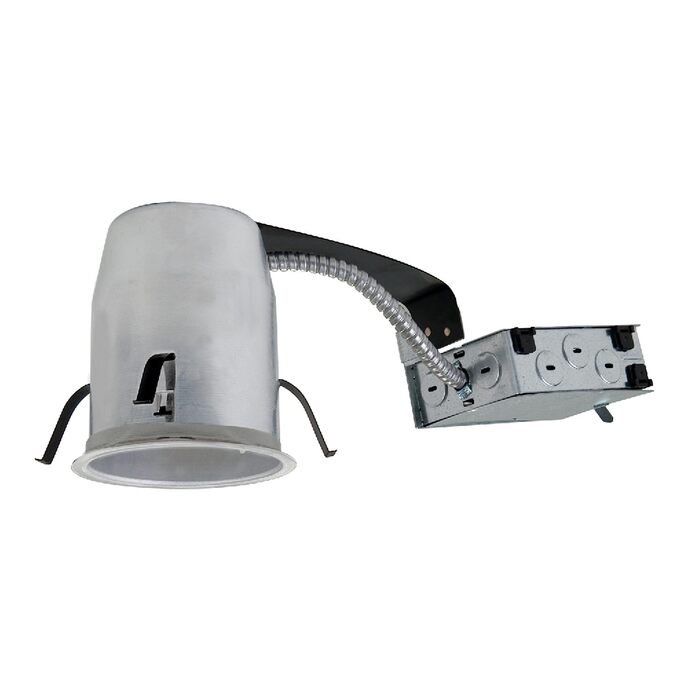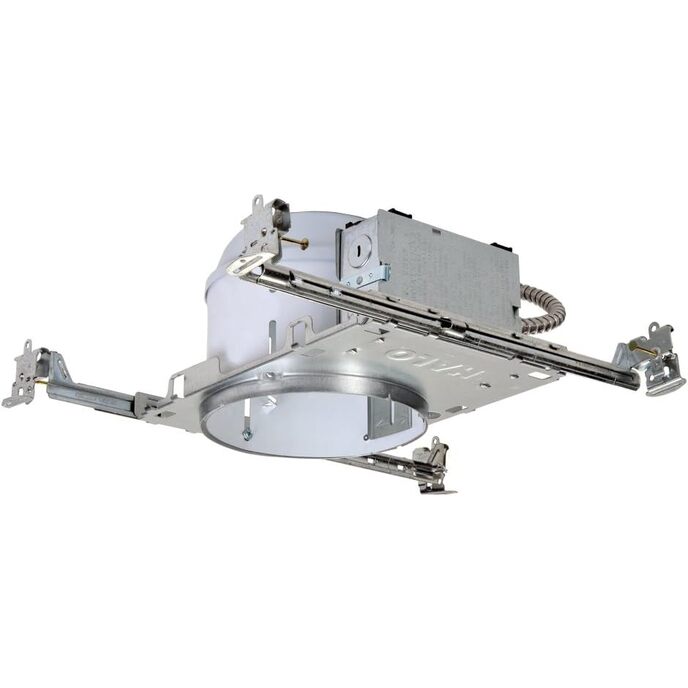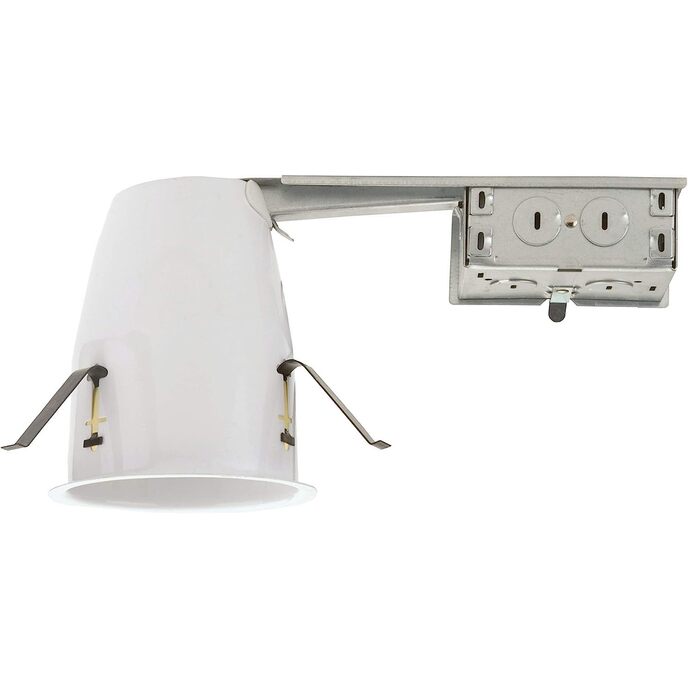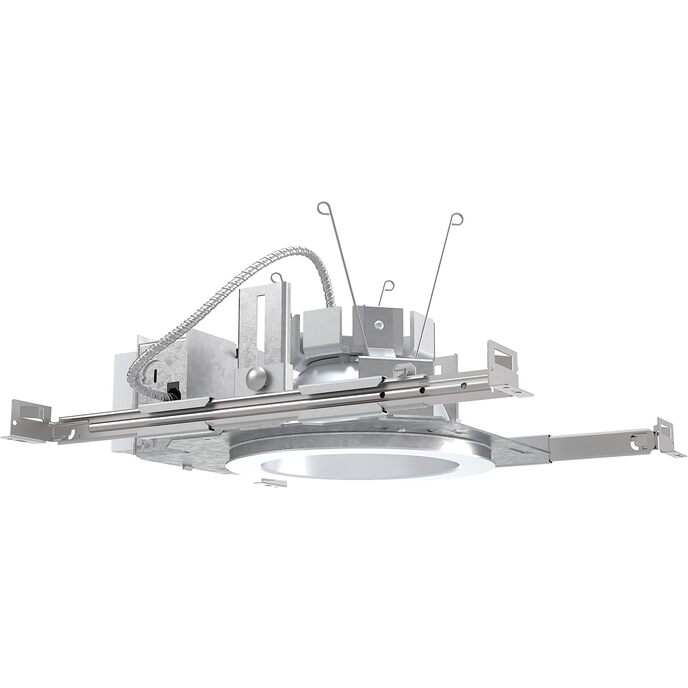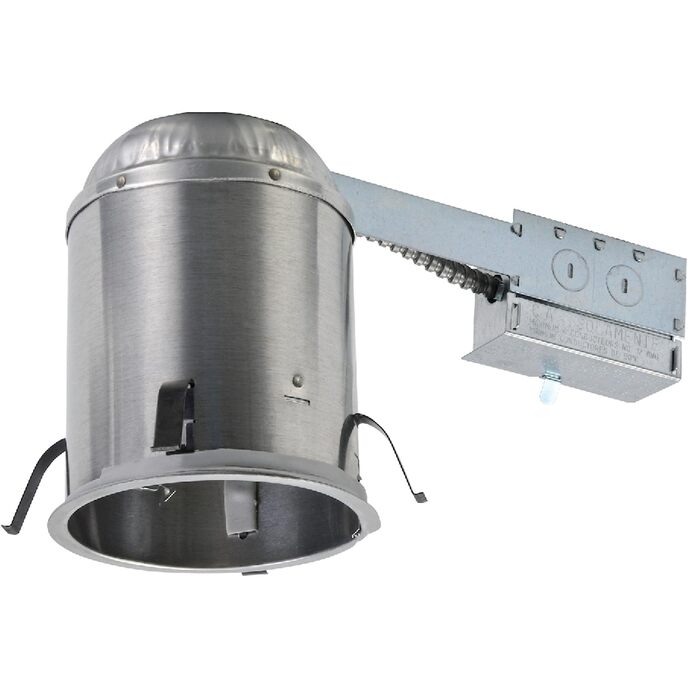
PRODUCT DESCRIPTION The air-tite Halo 5 In. Remodel housing features an air-tite design to prevent airflow between the attic and living areas in your home. This remodel housing can be covered by insulation and is compatible with Halo trims. Available in a contemporary 5 In. Aperture. FROM THE MANUFACTURER For remodel installations where the housing will be in direct contact with ceiling insulation. Integral thermal protector provides positive protection against over-lamping.
EAN: 6593856584595
Categories Tools & Home Improvement, Electrical, Recessed Lighting, Housings,
| Batteries Included? | No |
| Batteries Required? | No |
| Brand | HALO |
| Brand | HALO |
| Certification | No |
| Color | Aluminum |
| Color | Aluminum |
| Customer Reviews | 4.4 4.4 out of 5 stars 95 ratings 4.4 out of 5 stars |
| Finish | Steel |
| Finish Type | Steel |
| Included Components | H5RICAT |
| Installation Method | Wall Mount |
| Is Discontinued By Manufacturer | No |
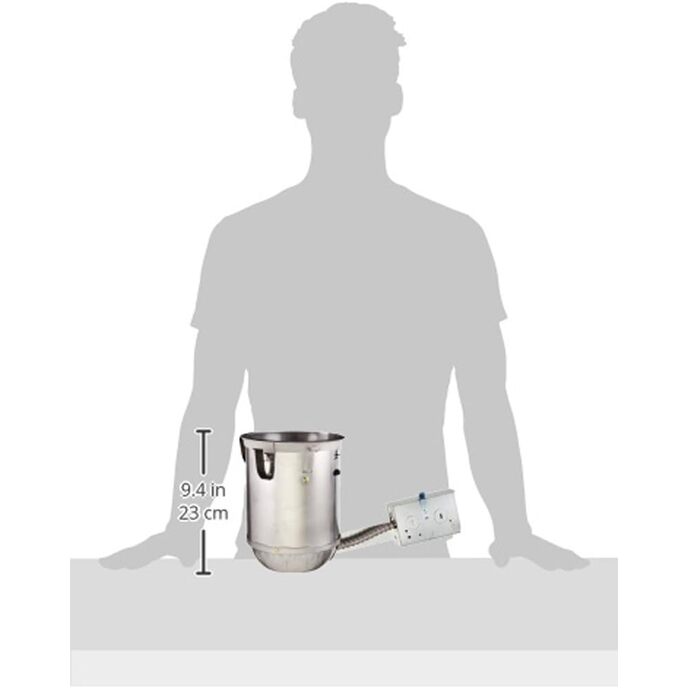
| Item Dimensions LxWxH | 6.1 x 14 x 7 inches |
| Item Dimensions LxWxH | 6.1 x 14 x 7 inches |
| Item model number | H5RICAT |
| Item Package Quantity | 1 |
| Item Weight | 1.8 Pounds |
| Manufacturer | EATON |
| Material | Aluminum |
| Material | Aluminum |
| Part Number | H5RICAT |
| Power Source | No |
| Product Dimensions | 6.1 x 14 x 7 inches |
| Size | Each |
| Style | Traditional |
| Style | Traditional |
| Type of Bulb | LED |
| Voltage | 120 Volts |
| Warranty Description | 2 year warranty. |
| Wattage | 75 watts |