Hitachi 881973 Single Shot Set for Hitachi NV65AH and NV45AC Siding Nailers

Brand:Hitachi

3.1/5

101.07

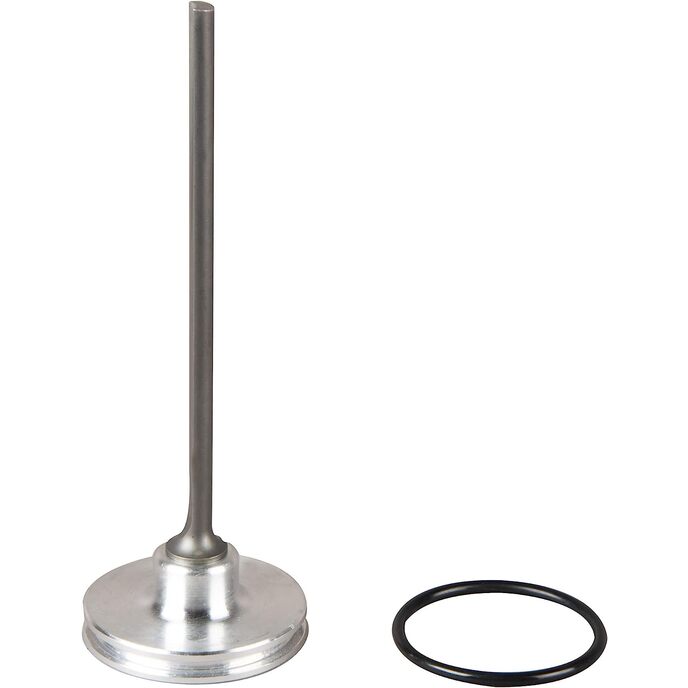
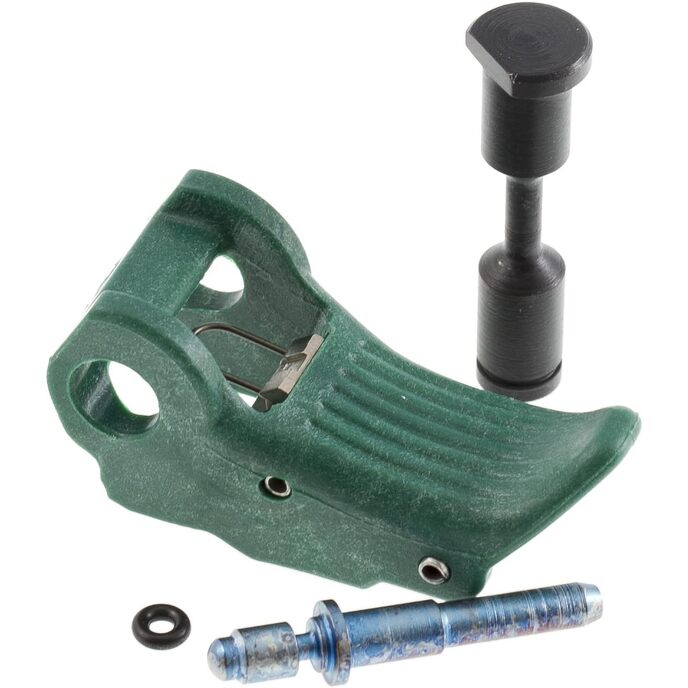
PRODUCT DESCRIPTION Hitachi 881973 Single Shot Set for Hitachi NV65AH and NV45AC Siding Nailers FROM THE MANUFACTURER The Hitachi 881973 Single Shot Set for Hitachi NV65AH and NV45AC Siding Nailers is well-built with a simple design. The single shot fits Hitachi NV65AH and NV45AC Siding Nailers. This product will not break or chip and is used as a replacement and assembly part for Hitachi Nailers. This product is specifically designed for home remodeling projects and is made of high quality materials. What distinguishes this part is its intuitive, quick setup and durable design. Use this single shot with your Hitachi power tools in seconds flat! This part is perfect for storing in your garage or storage shed for convenient replacement parts and is built to withstand years of repeated use. The Hitachi 881973 Single Shot Set is warranted to the original purchaser to be free from defect in materials and workmanship for a period of 30-days from the original purchase date. Every Hitachi accessory is designed to the highest standards and is rigorously tested for both performance and durability. Since its inception, Hitachi has pioneered innovative technologies that have improved the quality of craftsmanship worldwide. Hitachi is a leader in power tool research and development and has achieved many firsts in the power tool industry. Today, Hitachi continues the tradition of innovation and engineering with new features in addition to classic quality.

Amount
Add to CartBuy now
Comes with a 30-day limited warranty. Intuitive and easy to use with quick setup. Designed for Hitachi NV65AH and NV45AC Siding Nailers. Made of heavy-duty material. Well-built with a simple design.
Batteries Required? ‎No
Country of Origin ‎China
Customer Reviews 4.0 4.0 out of 5 stars 22 ratings 4.0 out of 5 stars
Domestic Shipping Item can be shipped within U.S.
International Shipping This item can be shipped to select countries outside of the U.S. Learn More
Item model number ‎881973
Item Package Quantity ‎1
Item Weight ‎0.8 ounces
Manufacturer ‎Hitachi
Part Number ‎881973
Product Dimensions ‎6 x 4 x 1 inches

3.1

3 Review
5 Star
50
4 Star
24
3 Star
14
2 Star
0
1 Star
12

Write your review

Your email will not be published. All mandatory fields are marked with*

Scritto da: D. McCann
Install single shot trigger for Hitachi NV65AH
After installing Hardie siding on an entire house, I never quite developed the "limp-wrist" bump nailing technique that is supposed to eliminate double shots and jams. I'm a decent general builder, but I don;t install siding every day for a living. Lots of practice is important for being proficient at any skilled trade. (My masonry work isn't as good as pros either). So, the single shot allows the rest of us to be more deliberate with placement of the nail gun before firing. There are no installation instructions, only a fairly useless diagram. Some simple tips and pictures make installation fast and easy. 1. Remove original trigger by taking off snap ring and pushing out the retaining pin that the trigger pivots on. 2. Locate the 1/8" roll pin in the nail gun housing above the trigger. There are other roll pins the same size that don't need to come out lower down. 3. Drive the roll pin out with a proper sized drift. Gun may be metric but 1/8" drift works very well. 4. The black bushing containing the valve piston should pretty much fall out. If your gun is really dirty, clean and pull it out with needle nose pliers. You will have three pieces; the black aluminum bushing, the piston, and a spring. 5. Grease the new piston lightly and slide the o-ring on. Use the old piston for reference. 6. Place the new piston and spring in the bushing like the old piston was, and insert back into the nail gun. Note that there is a curved slot on one side of the bushing where the roll pin will go to retain it in place. Be careful to hold the bushing all the way in against the spring pressure before driving in the roll pin retainer. The aluminum busing can ge easily gouged by the steel roll pin if it is misaligned. 7. Install the new trigger using the new trigger retaining pin, and secure with the old snap ring. Update on use: I finally had occasion to use the nailer after installing the single shot trigger. I am replacing cedar siding on my house, and the Hitachi nailer is like an entirely different tool. The nail depth setting adjustment works well and there are no double shots or jams. This is the way the nailer should have been shipped originally.
Scritto da: TomaPeti
Great quality, instructions really suck
It is really well made, seems to be working (I just installed and tried today). The instructions really suck. I checked the original maintenance documents and there are no instructions how to get the trigger out. Since it wasn't super straight forward, I decided to record what I was doing. Here is what I did: 1) Put the O ring on the new plunger 2) Remove retaining pin from trigger pin with a flat screwdriver 3) Push the trigger pin out 4) Remove old trigger 5) Push roll pin out at the trigger. I used a sawed off screwdriver to hammer it out 6) Pull valve busing out with needle nose plier 7) Remove old plunger 8) Install new plunger in place the old one 9) Push the old valve bushing back to its original place. Make sure that the notch on the side of the busing (for the roll pin) will be looking towards the top of the gun, where the roll pin will be 10) While holding the bushing down, push and hammer the roll pin in 11) Put the new trigger into place 12) Push the new trigger pin through the gun and the new trigger 13) Install the old retaining ring on the trigger pin using needle nose pliers
Scritto da: John P Beck
Hopefully these installation instructions will help someone
Seems expensive, has no real installation instructions, I had to return the 1st one I received since it appeared used and only had 2 out of 4 parts included which is why I can't give it five stars. The trigger does work well and safely only fires once when pressed against the work followed by a trigger pull. The install is fairly straight forward once figured out. I cold not find any help online so I will try to describe the steps. 1) lubricate and push the tiny o-ring over the short end of the trigger pins so it sits in the small groove. 2) Push off the e-clip to remove the pin with the flat on it and also remove the old trigger (you might need to push on nose piece to remove trigger) 3) Punch out the roll pin that is between the trigger location and handle. This frees the small round housing that retains the spring loaded firing pin that you put the o-ring on. 4) Replace the firing pin and the round housing paying attention to make sure the groove for the roll pin in the housing is facing forward 5) Tap the roll pin back in. 6 Put in new trigger, new pin with flat and the e-clip. The trigger seems floppy but push the nose piece and the operation will make sense.

Related products

hot
Bulldog 1824180100 Electric Powered Kit
3.5/5

€ 293.30

Bulldog 1824180100 Electric Powered Kit
3.5/5

€ 293.30

Discover our international network

We ship to 28 countries, over 200,000 products. Stay updated, subscribe to the newsletter.

Array